Free Printable Valentine's Cards

Kids- Valentine's- Day -Card- ideas -sweet-and-simple-mag-magazine 2016.jpg

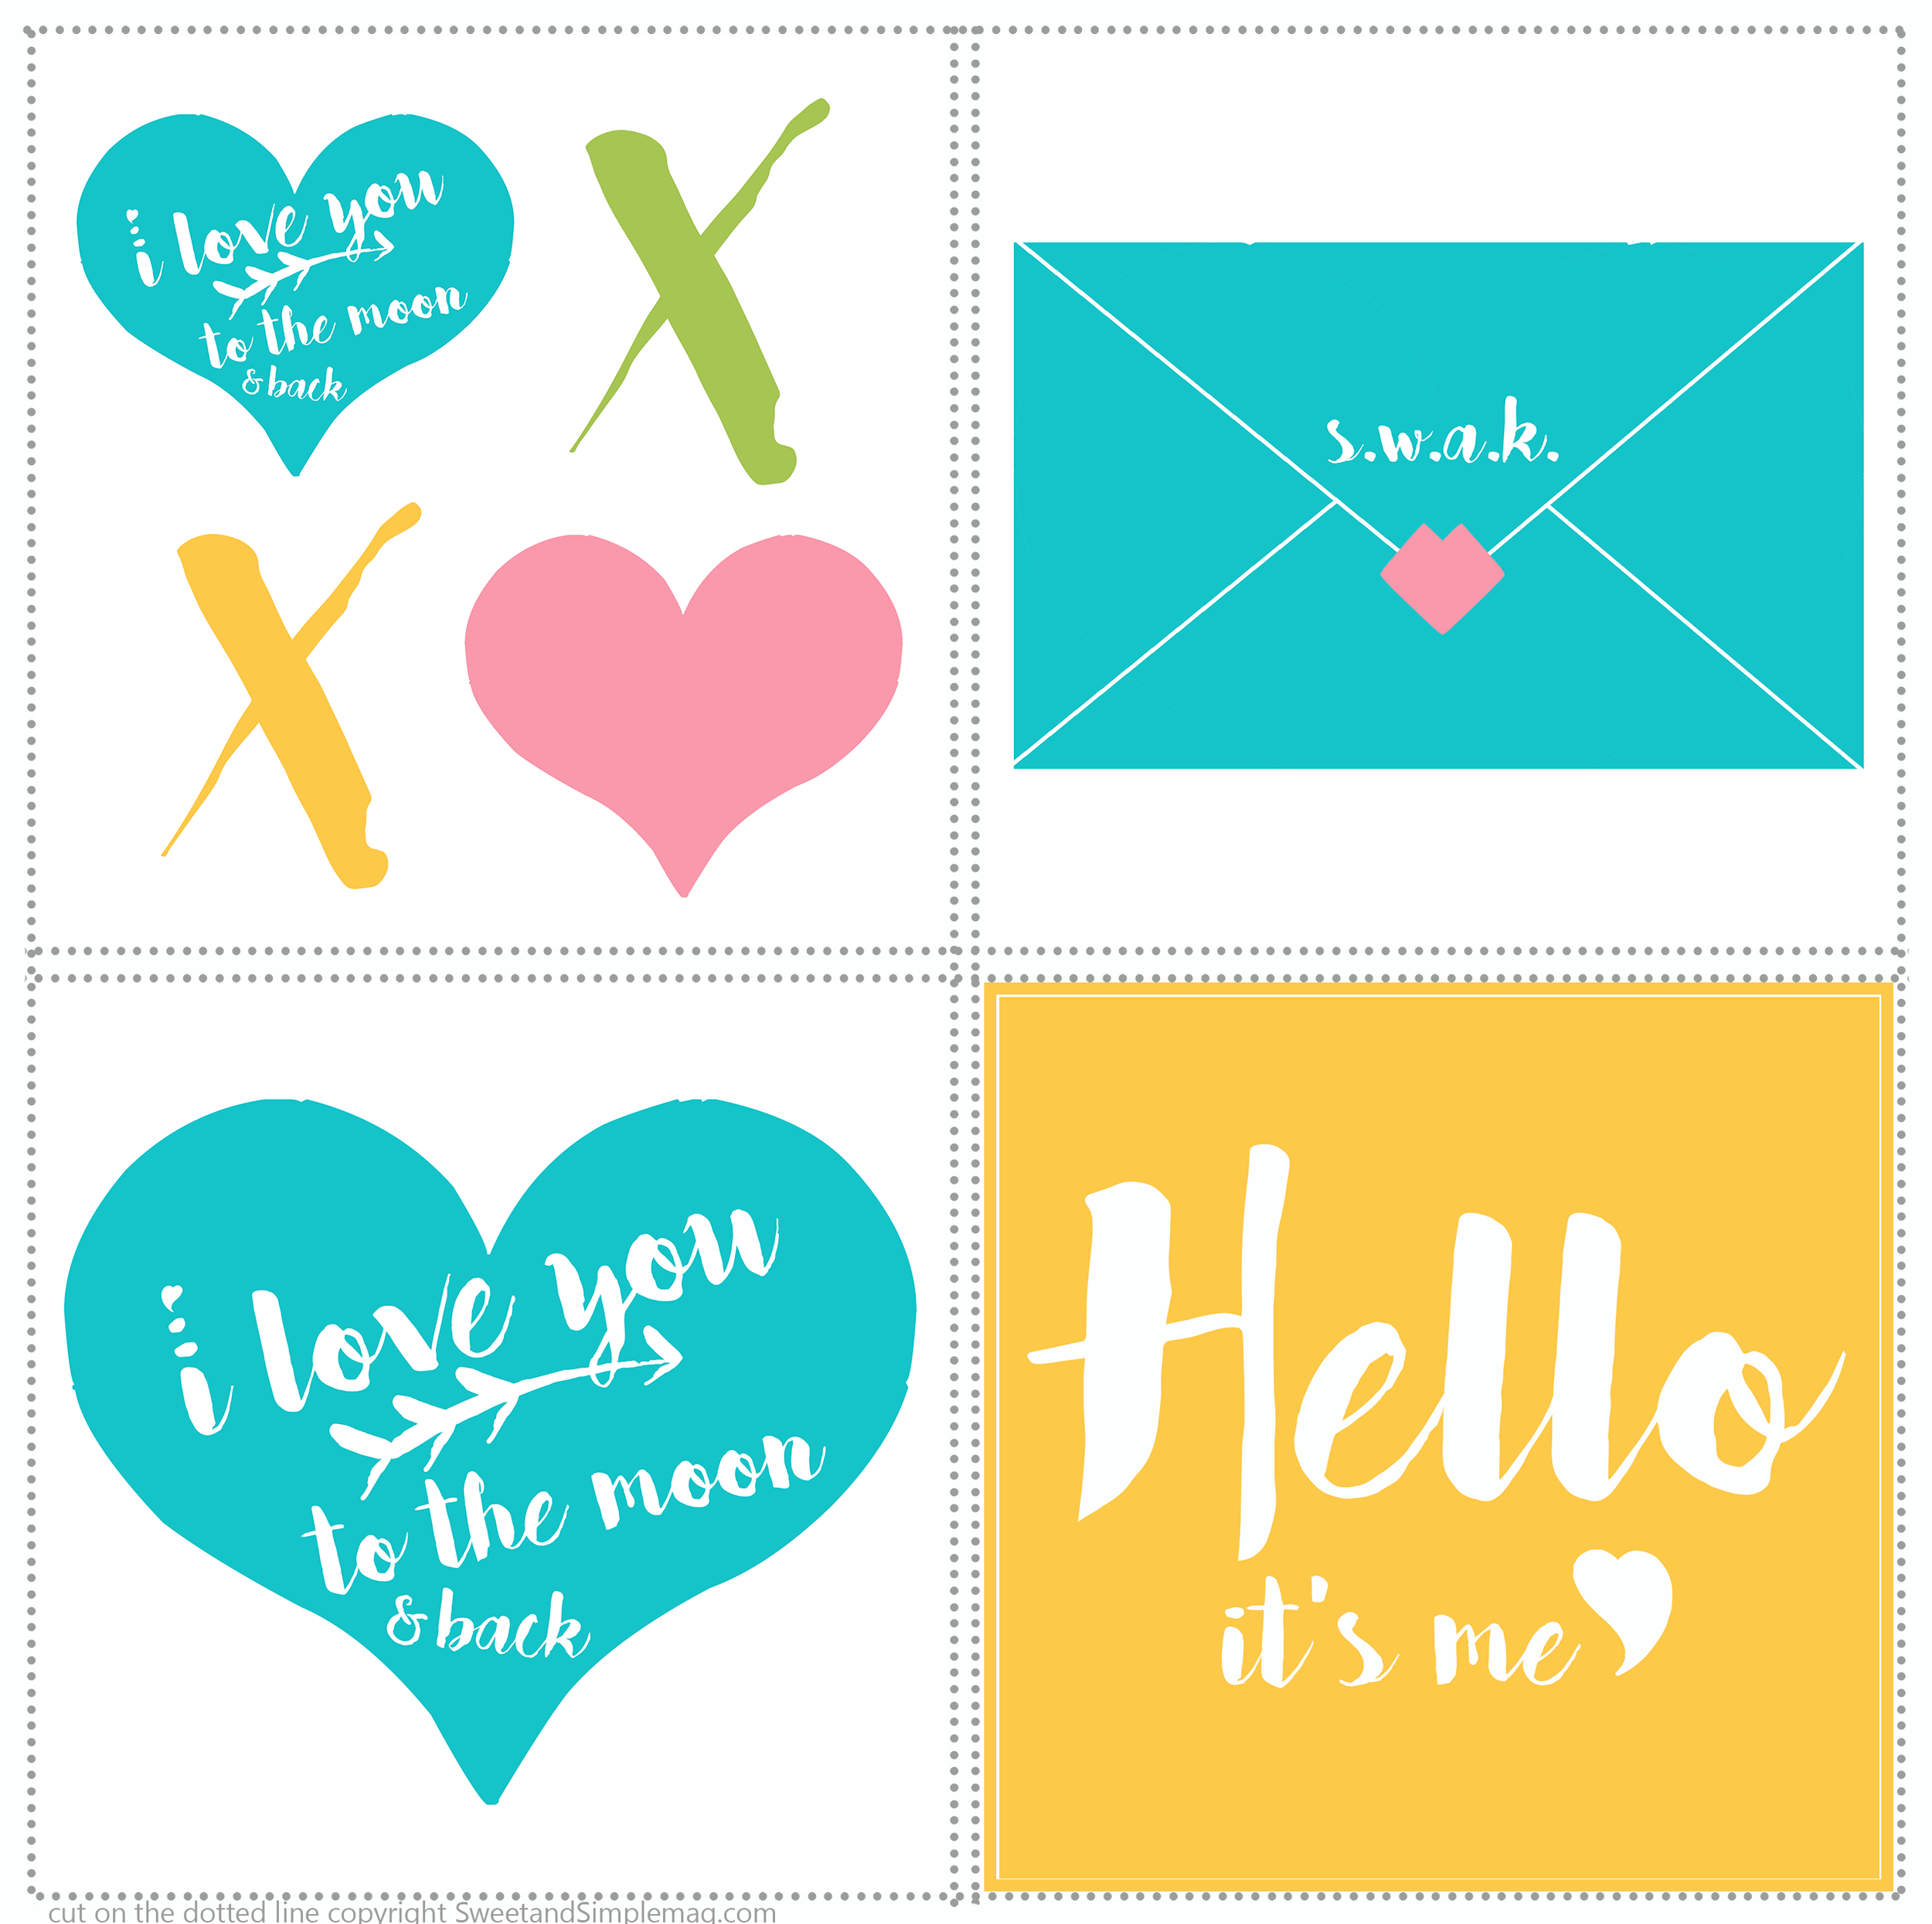
Are you looking for a cute bright cheerful Valetine card to pass out to your loved ones this Valentine’s Day? I made these free printable Valentine’s just for you!

These would be great for a Galentine’s day party too.

Free Printable Thanksgiving Decor

Im thankful for you-printable.png

I made a little some just for you my sweet readers and true following fans. I am Thankful for you all and I hope you enjoy it as much as I enjoyed painting these little watercolor doodles and making them into a cheery print for your Thanksgiving. It would be great just printed and framed or you could use it as a cover for a card, or print one out in a mini size as a place card for Thanksgiving dinner.


If you would like me to design you a custom card, place card, or invitation using these lovely fall clipart pieces send me an email and I'll put one to together for you. Email me more prices and details.

april@simplythesweetlife.com

TIP: Print your copy on watercolor paper for a custom look.


thanksgiving printables
 

Caramel Apple Nachos

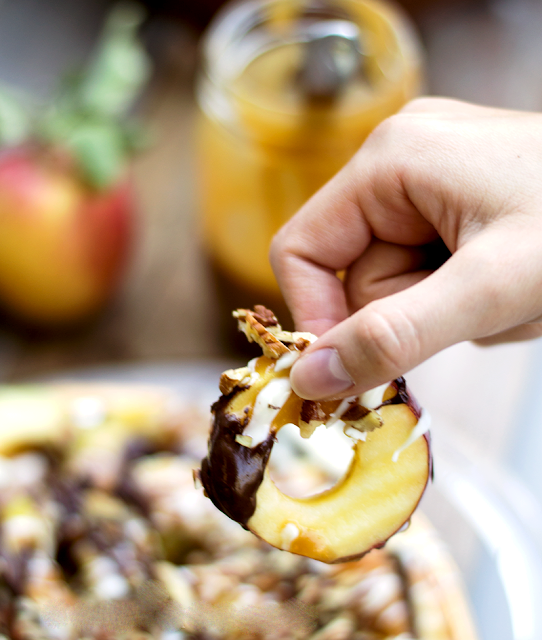
These Caramel Apple Nachos are just like regular Caramel Apples without the struggle of figuring out how to cut and eat your apple after it’s been dipped in caramel plus they are easier to make than traditional caramel apples! These Caramel Apple Slices perfect for a party treat too. Give them a try. I know you will love them!

Do you FOLLOW US on INSTAGRAM? Join us! Click here.

We wanted to serve Caramel Apples this weekend for a get-together but wanted something that was easier to eat and something everyone could eat in bite-size pieces. We decided to take our caramel recipe we make every year and came up with our Turtle Caramel Apples, nacho style. It's such a delicious and easy treat to have at a party or just to eat while watching your favorite fall movie.

caramel apple nachos.png

Turtle Caramel Apple Nachos

  • 8-10 of your favorite apples

  • 12 ounces of milk chocolate

  • 12 ounces of white chocolate

  • 1 pint of soft caramel

  • 1/2 cup of chopped fresh pecans

  • Juice of 1/2 lemon

Core apples. Slice apples. Toss in lemon juice. Arrange apples on a serving dish. Set aside. Chop pecans. Make one batch of caramel. Melt milk chocolate in a glass bowl in the microwave for 30 seconds then stir. Continue every 30 seconds until completely melted. Melt white chocolate the same as milk chocolate.  Drizzle hot caramel over apples. Drizzle melted milk chocolate over apples. Drizzle white chocolate over apples. Top off by sprinkling pecans over the top. Serve. 

Does chocolate go with Apple?

Does chocalate go with apple? I say absoultly especially if you are adding caramel into the mix.

Happy Fall!


Click here for my Easy Microwave Caramel Recipe

SAVE IT FOR LATER! CLICK HERE


YOU MAY ALSO LIKE...

Friday Pie Day | Low Carb Keto Pie Recipes

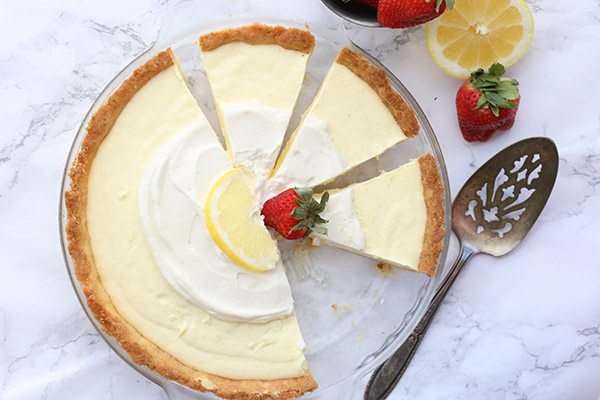
Lemon-Sour-Cream-Pie-keto-low-carb.jpg

I LOVE lemon and All Day I Dream About Food’s low carb keto Sour Cream Lemon Pie is amazing!

FRIDAY PIE DAY!

With Thanksgiving Dinner keeping up very full on Thanlsgiving day, I am offically call it- Friday is Pie Day! Have some keto pie for breakfast or host a pie day gathering with friends after you gather up all your Black Friday Deals.


low-carb-pecan-pie-keto-friday-pie-day.jpg

The Keto Connect couple do their research and their Low Carb KETO Pecan Pie is sure to be a favorite for those of you who need some Pecan Pie for your Friday Pie day.

chocolate-silk-pie-low-carb-keto.jpg

How about a Low Carb Keto Chocolate Silk Pie, yum! Ruled Me has a great chocolate keto pie to add to you Friday Pie Day menu. Click here for the recipe.

keto-low-carb-strawberry+-pie+-recipe.jpg

Dreaming about your grandmas pie for your Friday Pie Day? You can still have it just tweak it a bit with I Breath I’m Hungry’s Low Carb Keto version of Strawberry Icebox Pie

low-carb-peanut-butter-pie-recipe.jpg


Friday Pie Day wouldn’t be complete without a Low Carb Peanut Butter Cup Pie. Enjoy!


FOLLOW MY FRIDAY PIE DAY Pinterest Board for more Low Carb KETO Pie Recipes

Free Printable Pumpkin Coloring Pages

free-pumpkin-coloring-page.jpg

How has your first week of fall been? Did you try any of my Favorite Fall Recipes or create one of these Fall Leaf Wreaths with your kids?

You know, I love making these free printable coloring pages for you as much as I love coloring them. I will print one and have it out on my desk for when I start feeling overwhelmed. There is just something about choosing the colors and putting marker or pencil to paper and coloring.

printable-pumpkin-coloring-page.png

 I made these color pages so you can color them as well as your kids. Feel free to print some out and share them with your kids classes or even with your work mates. I hope you enjoy them as much as I do!

free-printable-coloring-pages-for-kids.png

Spring Tulips } Displaying Grocery Store Flowers

Spring Tulips } Displaying Grocery Store Flowers

I love searching for well-designed vintage home goods to add interest to my home decor.. I recently found two lovely cream soup tureens while thrifting. Many people are focusing on ironware but a nice vintage ceramic piece is just a Both of them are ceramic. As soon as I saw them I knew just what I wanted to use them for… nope not soup… spring tulips.

Read More

Rainbow Coconut Jelly Bean Coconut Easter Cake Recipe

cake.jpg

When I was growing up my mom made us a special treat each year. It was always one of my favorites. It was her White Chocolate Coconut Jelly Bean Candy Easter Nests. I just love how the white chocolate, coconut and the fruity flavors of the jelly beans mixed so well. With this flavor combination in mind I came up with a new Easter tradition our Easter Cake. As I thought about the flavor of the jelly beans Kool-Aid came to me. Kool-Aid comes in many different shades of bright colors, it has similar flavors and some of our favorite jelly beans so it was the perfect solution to both coloring and flavoring each layer of our Easter Cake.

cake-recipes.jpg

Our Easter Cake has a pink strawberry, yellow pineapple, green lemon-lime, and blue mixed berry layers. It is frosted with the most delicious coconut white chocolate buttercream frosting. Combining the coconut and the flavors remind me of a colada drink.

This is a great cheery cake for kids.

cake-cakes.jpg


Cake:

  • 2 Box Cake Mixes or 2 batches of White Cake Batter

  • 1 packet of Kool-Aid drink mix powder for each color -4 total (the ones without sugar)

Prepare your favorite box white cake mixes or this great from scratch recipe for White Cake ( two batches.)

Divide the cake batter equally into 4 medium mixing bowls. Slowly add Kool-Aid powder until you reach the desired color and flavor or each color.

Preheat oven at 350 degrees.

Bake each cake color layer in an 8 or 9 inch round cake pan for about 18-20 minutes check after 18 minutes. The cake will bounce back when done when pressed down in the middle with your finger.

Cool for 5 minutes then remove from pan and completely cool on cooling rack.

Wrap each cake layer in plastic wrap and place in freezer.


White Chocolate Coconut Buttercream Frosting

Note: You will need two batches for this cake

  • 2-pound bag of powdered sugar

  • 1/2 milk

  • 1 cup softened butter

  • 1 teaspoon real vanilla extract

  • 1 cup of sweetened shredded coconut

  • 1 cup of melted white baking chocolate

In a stand mixer using the whip attachment whip together melted white chocolate, butter, milk, vanilla and about 1/2 cup of the powdered sugar to incorporate air. This will make your frosting nice and light and fluffy. 

Slowly mix in the remaining powdered sugar then add coconut and whip together. 

This frosting is creamy, delicious and sets up very nicely.

Coconut Nest Topping

  • 1 cup of sweetened shredded coconut

  • 1 packet of green lemon-lime Kool-Aid powder mix

  • 1 bag of your favorite jelly beans

  • 1-quart size zip top bag

Add coconut and 1/2 packet of Kool-Aid powder to zip top bag. Mix the coconut and powder together kneading with hands. 

Mound in the center of the top of the cake to form a nest top off with a large handful of jelly beans.

SWEET TIP: To frost the cake and get beautiful layers add your frosting to a quart size zipper top bag. Snip of one corner of the bag about a half inch up.

Starting with the bottom layer squeeze our large dollops of frosting around the cake top. Spread evenly and repeat as you add each layer. Then squeeze out frosting in a zigzag pattern around the side of the cake. Spread over the sides filling in between the zigzag. Don't worry if you zigzag is straight.

The point of this is to get a fairly even amount of frosting around the cake so it is easier to spread and prevent little cake crumbs from mixing into your frosting.
If you have any holes in your frosting just go back and add another dollop of frosting.

This frosting sets up nicely and is very forgiving. Since it is a coconut frosting it doesn't have to be perfectly smooth.

The kids are going to LOVE this cake.

 
cake-cake.jpg
 

Hand Embroidered Valentine Bookmarks

Valentine Craft - Bookmarks

Hello Everyone!!! I’m Abby over at A Feathered Nest blog which is kind of a collection of hobbies I like or attempt. I’m a mom with 4 kids - boy, girl, boy, girl, and a husband. I wish I had a puppy so bad. My baby girl is an animal so she will suffice for now. We live in Michigan {the most beautiful place on earth} but we’re getting ready to move back home to Sunny Arizona! I’m SO excited that Heather would ask me to put together a project for all of you. We’re going to do a Valentine project but not that kind of Valentine project. Let’s veer from the standard Valentine gifts and do something unique for our good friends & loved ones. Who out there doesn't love a good book?! Even kids’ books. They’re amazing. Don’t you love it when you find a good book and you’re sad when you finish? Wouldn't it be fun to give a good book to someone you love this Valentine’s Day?! With an adorable hand-made bookmark?! Even better. {add some chocolate to the gift and I’d say that would be the best Valentine gift EVER.} I’ll take a good book {and chocolate} over flowers any day.

Hand Embroidered Valentine Bookmarks

Aren’t they precious? How fun to use the bookmark as the actual gift tag wrap it around a gift card or if you buy a book wrap it around the wrapping paper. 

Supplies:

  • Felt, cut in varying circles or shapes (I have a scallop pair of scissors) 

  • DMC floss, needle, scissors 

  • Fabric marker- mine has a disappearing ink side 

  • Fabric glue 

  • Elastic (you can dye your elastic any color you want using RIT dye - just boil hot water, add a few drops of dye, boil for a few minutes, rinse with cold water. Bleach your pot before using it for cooking.) 

This is a perfect project for those of you who are beginners to embroidery. If you need a practice guide, here is a handy-dandy Stitch Guide I put together a long time ago. This post also has some stitching help, another great Valentine project. I’m missing a few stitches on my site but if you google searched the following stitch names you’ll find more than enough help on how to do them.

felt+bookmark+craft.jpg

Cut your shapes - I used 3-ply together, but stitched on 2-ply.

Trace/draw your design. The circles should be small, so you don’t need a whole lot on them - keep it simple. I free-handed everything so I don’t have patterns, but you can look at these and figure it out. They’re not very complex.

Embroider your design. Here are the stitches I used: Lazy Daisy

- French Knot

- Split Stitch

- Running Stitch

- Blanket stitch

felt+bookmark+craft+idea.jpg

Secure your elastic in a loop/circle, using glue or thread - make sure it’s straight. Nothing but the best from you.

Glue your front to the back.

Done! Now go make a whole bunch of these and you have plenty of time until Valentine’s Day! Wahoo!! These will also make great end-of-year teacher gifts too get a head start and be the admiration of the PTO moms. You’re amazing.

heart+felt+bookmark+love+smaller.jpg
 

More Valentine’s Day Crafts


How to Choose a Fresh Christmas Tree


Are you a real or fake Christmas tree family? I have always loved the smell and look of a real tree. When I was growing up we always had a real tree. Sometimes they were big and fluffy other times more sparse. When my mom was growing up during the fall my grandpa and uncles would go up to the family homestead on the mountain and choose a tree for their Christmas. On the day after Christmas, they would go up and cut down their perfect fresh tree. When I moved to Utah my uncle and grandpa would choose one for me too and I would go and pick it up after Thanksgiving. There was something really special about getting a tree from your own land.
Now that my grandma and grandpa have passed away we visit a local Christmas tree lot that carries the freshest prettiest trees.

We wandered around to look at all the varieties of trees. Do you know which variety is your favorite? I like a short needle with a strong branch to hold all my vintage glass ornaments. I have a lovely collection of Shiny Bright balls and assorted vintage German glass ornaments.

DIY Christmas Pinecone Garland Decor

This post is sponsored by Command™ brand.

christmas-craft-ideas.jpg

I love the holidays. Cheery Christmas music, gathering all my favorite decorations to tuck into every nook and cranny of my home and our favorite sweet treats we only eat once a year.

This year we live in a lovely pre-war home with two fireplaces which means I get to decorate two mantels. I'm so excited. I get to create two pretty Christmas vignettes on each one.

I love the fall/Thanksgiving decorations I have on my dining room mantel.  It's made of a beautiful old growth oak wood. To keep the pretty wood intact I am using Command™ Clear Mini Hooks that are easy to apply and easy to remove without hammering holes in the wood for a damage-free holiday.

I wanted to create a lovely transitional garland that I can have up with my Thanksgiving decorations that I can also have up for Christmas.

This simple pinecone garland is a perfect easy DIY Christmas decoration or Thanksgiving decoration anyone who can tie a simple knot and bow can make.

christmas-craft-ideas-pinecones.jpg

DIY Christmas Decorations - Pinecone Garland

  • Gather an assortment of pine cones -wash and dry

  • 2-3 yards of ribbon

  • Holiday craft pick 

  • Craft Glue

  • Command™ Clear Mini Hook (to hang)

    Gather and wash your pinecones. Cut a length of 2 1/2 yards of ribbon. If you are feeling sparkly you can add some glitter to each pinecone too by simply brushing some glue on the pinecones and dusting with glitter.

Wrap the ribbon around the bottom of the first pinecone and tie it in a double knot. Repeat spacing the pinecones apart about 5 inches. Tie two bows from the ribbon leaving long tails to top each end pinecone. Glue the bow on the top of the end pinecones.

Using the Command™ Clear Mini Hook add adhesive back as directed. Place the Command™ Clear Mini Hook on the mantle to hang the garland as pictured above (I used the white mini hooks so you can see them better here in the photo.)

christmas-craft-ideas-garland.jpg

Next, I simply added a Christmas craft pick tucking it into the Command™ Clear Mini Hook to hold it in place. The nice thing about using the Command™Brand Hooks is you can quickly change your decorations if you change your mind without damage.

I'm also hanging my wreaths on my windows using Command™ Brand Hooks. Did you know you can use them on glass? Be sure to clean the glass well before adhering the hooks.

On my enclosed porch I'm hanging these pretty velvet and grapevine wreaths on the windows using the Command™ Medium Designer Hook which can hold up to 3 pounds which is perfect for hanging wreaths.


You can find more ways to use Command™ Brand Hooks for your holiday decorating here at Command™ Brand Holiday.


Happy Holidays!

april sig.png